Overview
This article will take you through how to configure Custom Fields within the Eloqua Integration in the platform. Both the Create/Update Integration with Eloqua and the Integrate with Eloqua Jobs are able to handle custom fields.
This article is one of five that will walk you through all the different components that may be used within our Eloqua integrations, the other articles can be found as below:
- Introduction To Eloqua And How To Create Your Custom Application In Eloqua
- The Integrate To Eloqua Job
- The Create/Update Eloqua Integration Job
- Integrating To Eloqua Custom Fields - This Article
- Eloqua Custom Objects And Fields
Video Walkthrough
Process - Create/Update Integration with Eloqua
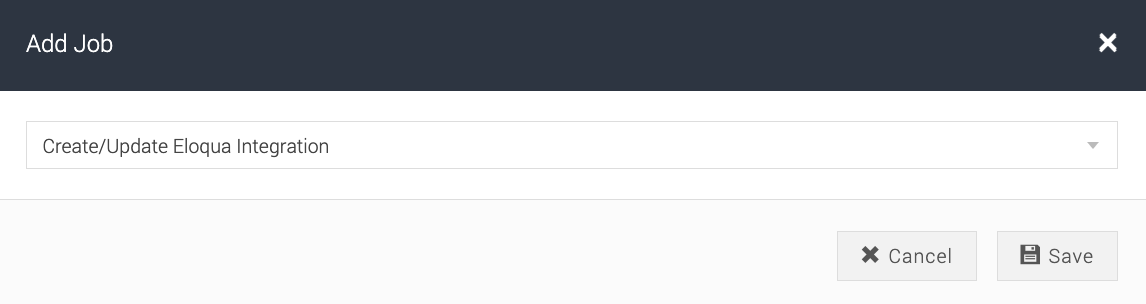
1. Navigate to your chosen campaign, and go to Processr > Integration. Click Add Job, then select Create/Update Eloqua Integration
2. Within the configuration first ensure your API details are already configured. If not, please refer to this article to help get this set up. Scroll down to the field mapping area:
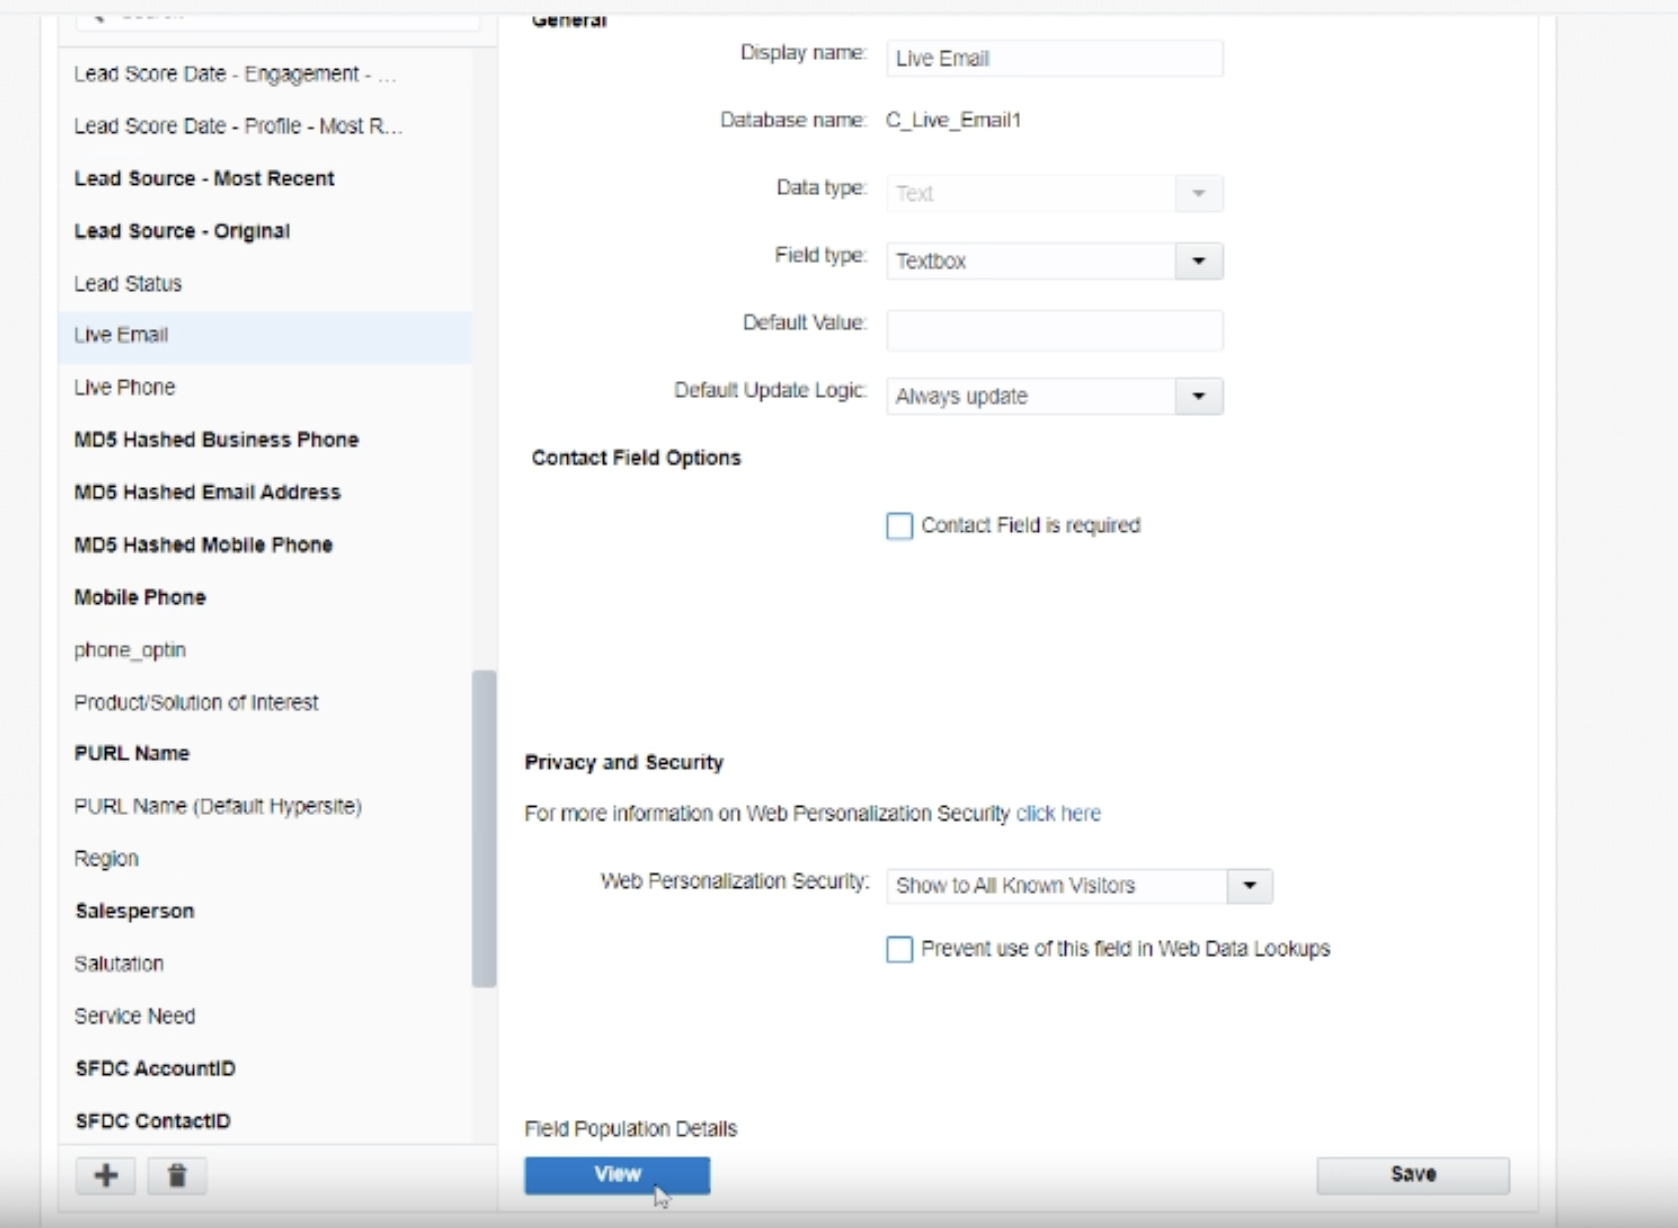
3. When you create a Custom Field within Eloqua an ID is created, which is used within the Convertr configuration. To get the Eloqua IDs:
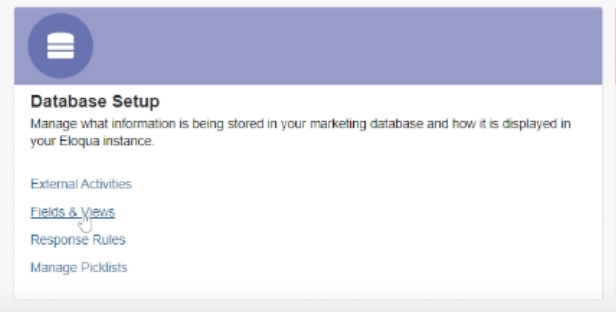
a. Within your Eloqua instance click the Settings Cog

b. Under Database Setup select 'Fields and Views'
c. Expand the menu for Contact Fields and scroll down to the field you are looking to map and select it
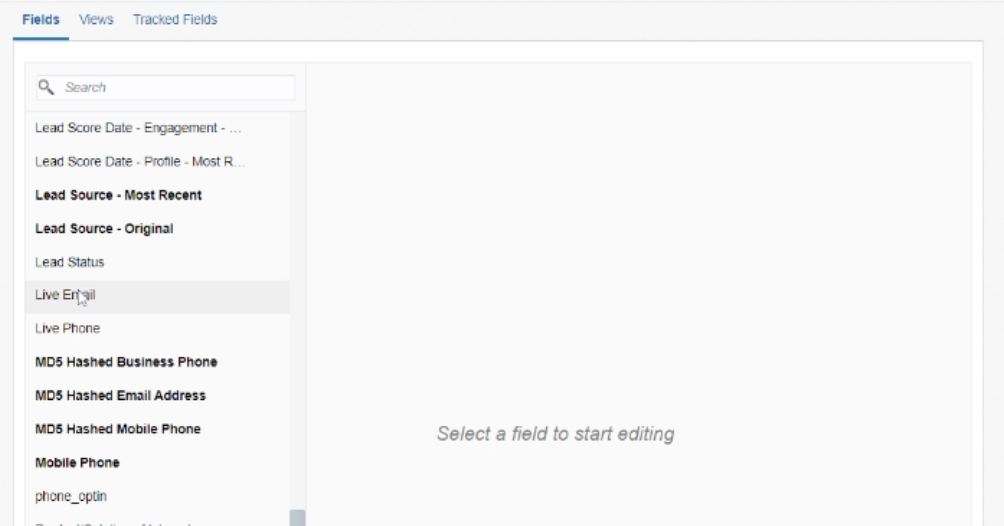
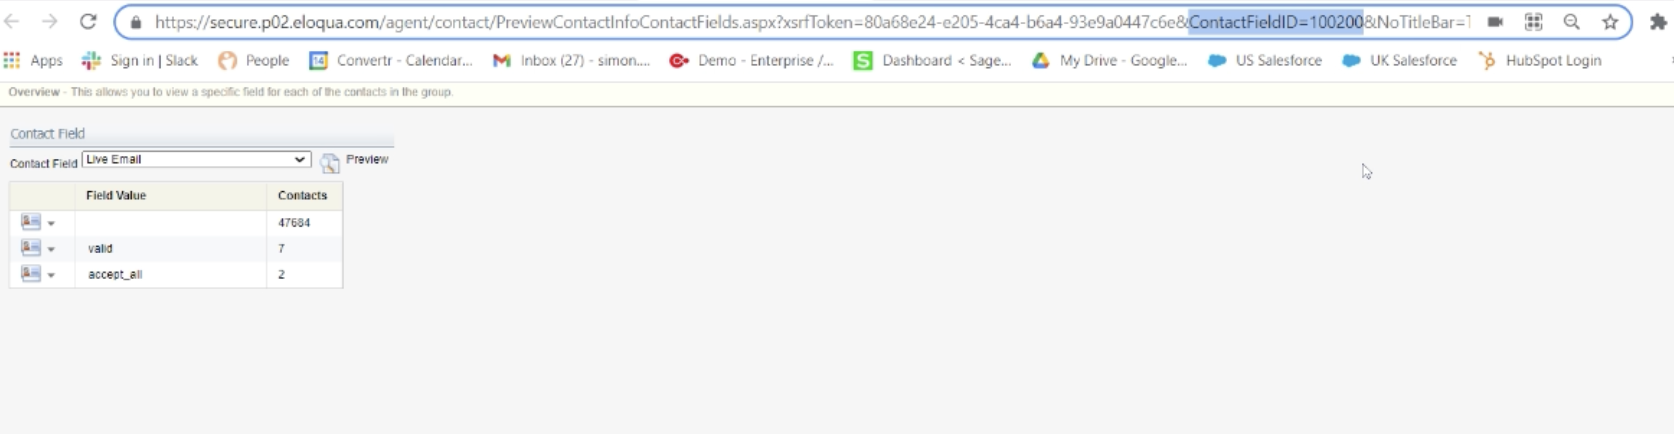
d. At the bottom of the page click View
e. Within the URL of the page we require the Contact FieldID. Highlight and copy this ID number
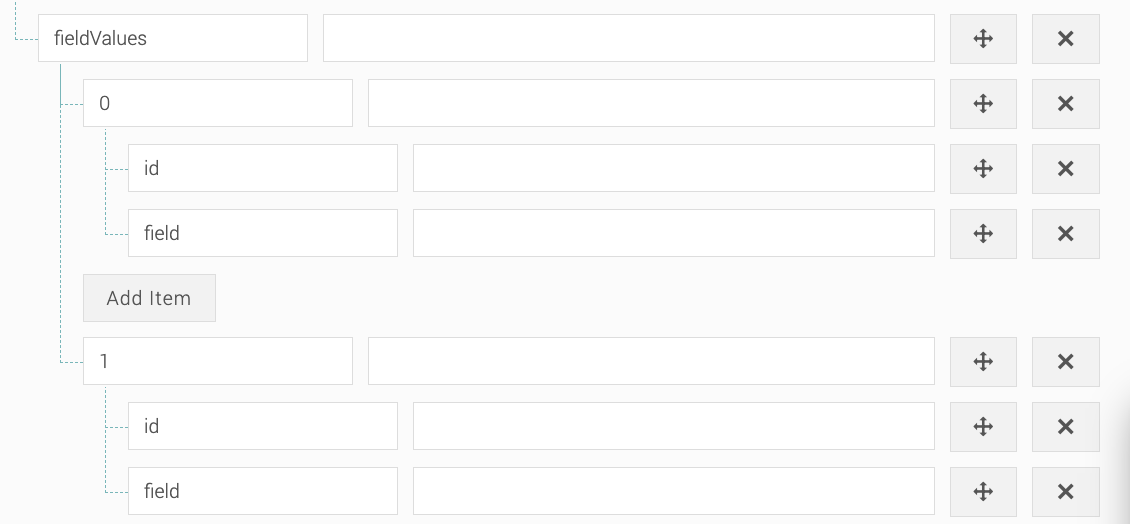
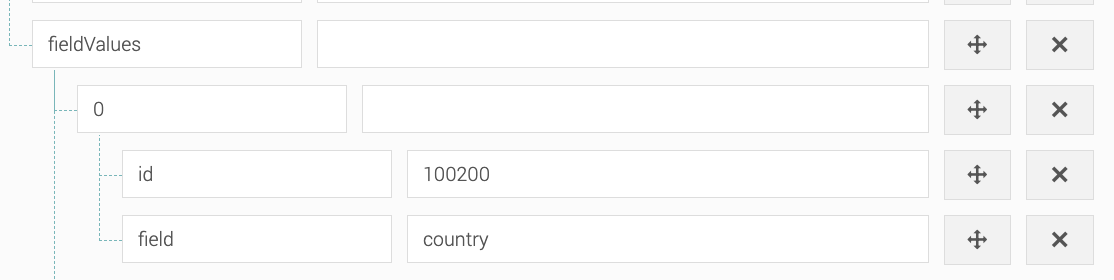
4. Within your Convertr instance, paste this ID number next to 'id' and next to field select the Convertr field this needs to be mapped to.
5. Continue this process for all your Custom Fields
Process - Integrate with Eloqua
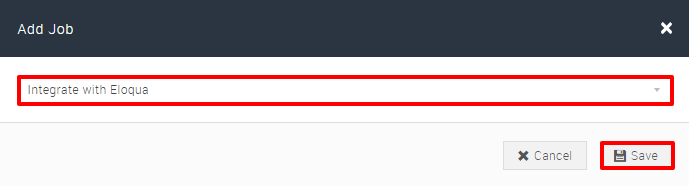
1. Navigate to your chosen campaign, and go to Processr > Integration. Click Add Job, then select Integrate with Eloqua.
2. Ensure you have populated the API section. If not, please refer to this article to help get this setup. Scroll down to the custom values area:
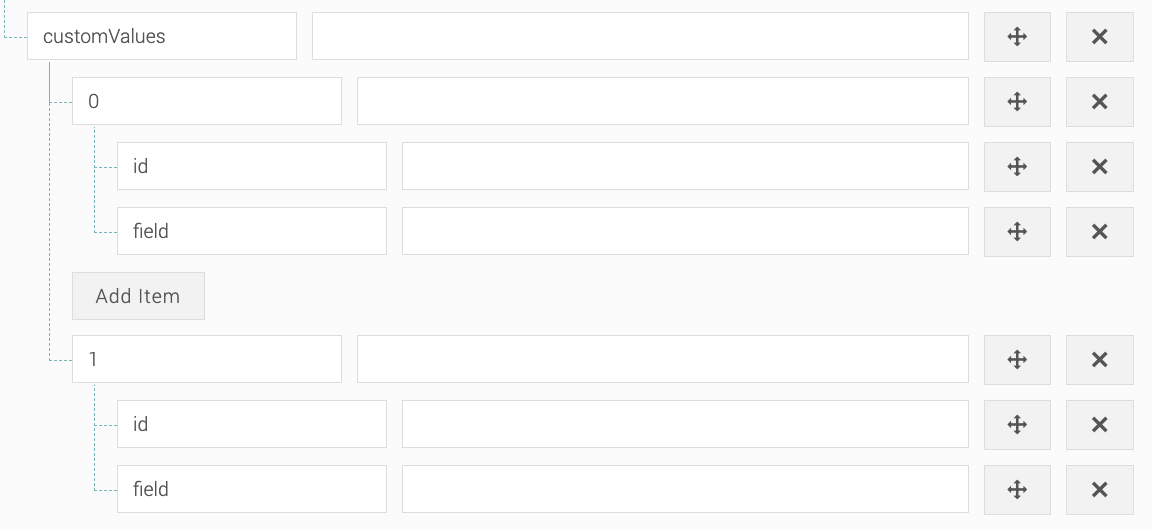
3. Populate 'id' and 'field' in the same way as step 3 in the above section and select save once complete.