Overview
The Convertr platform is able to synchronise lead generation activity from Facebook directly into a campaign, so leads generated from a Facebook campaign can be received and processed in the platform.
Prerequisites
To do this, you will need the following:
-
A Facebook developer account (you can sign up at developers.facebook.com)
-
A Lead Generation form for a Facebook page
Creating a Facebook App
1. Once you have logged into the Facebook developer area, begin by selecting My Apps, then selecting Create New App.

2. You will be asked to select an App type. You should select Business for your app.
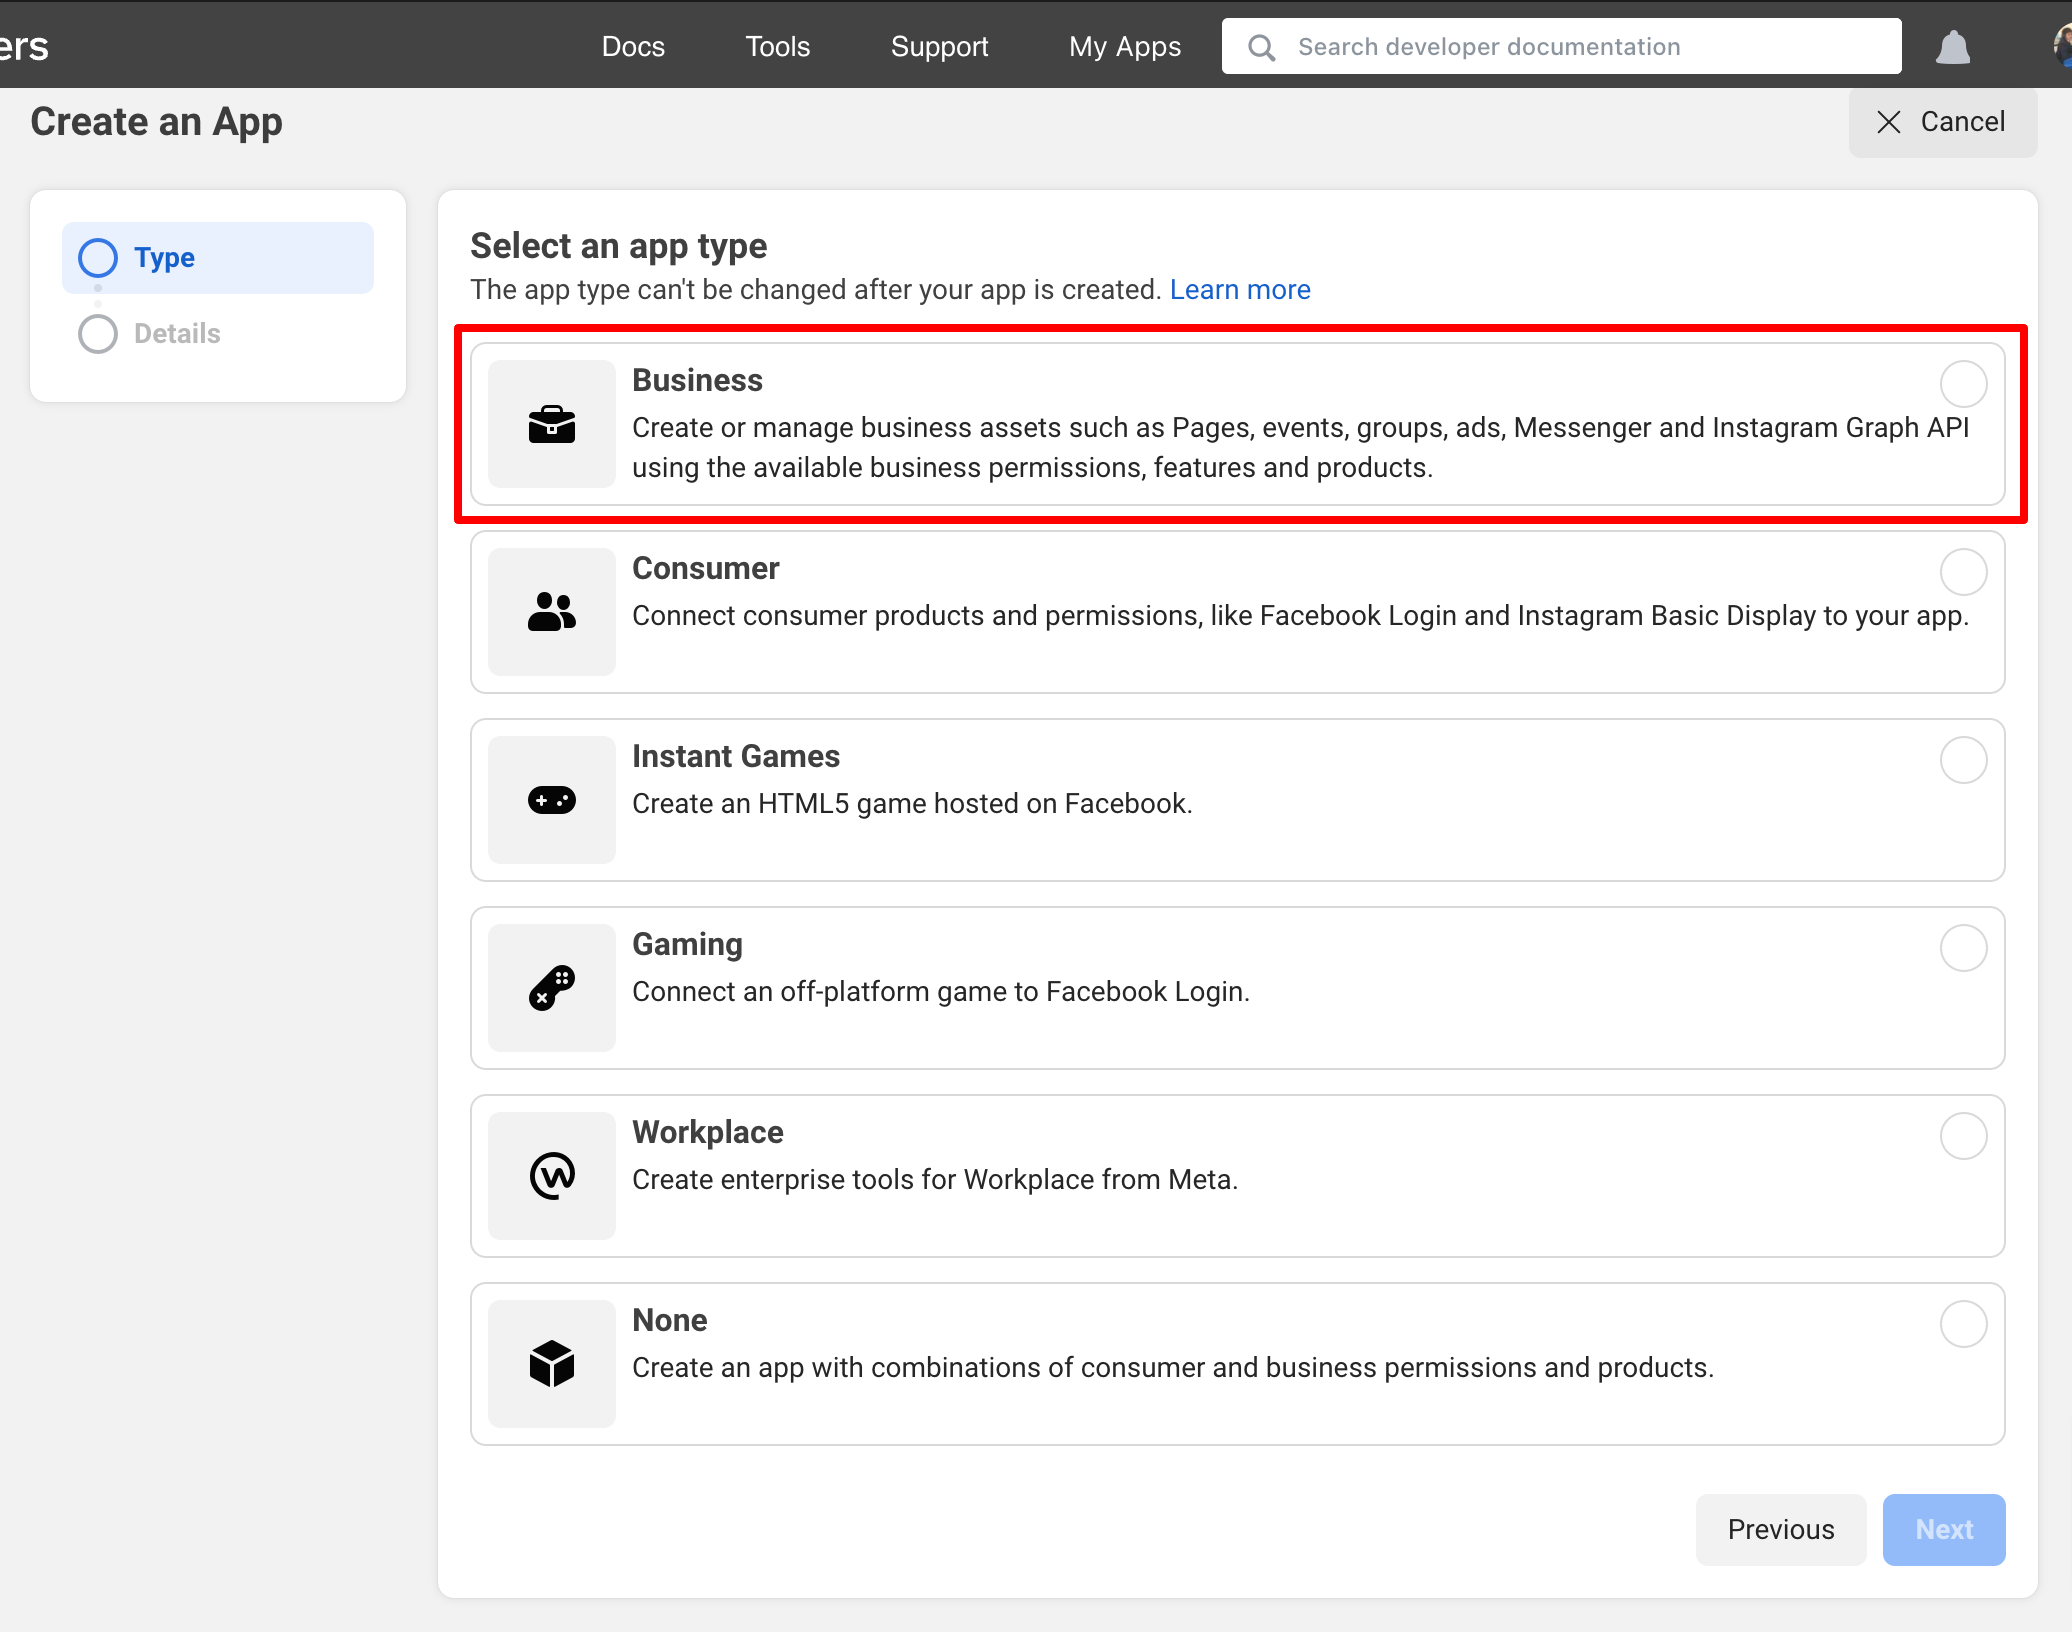
Please note: If you select an option other than business, you will not have the permissions needed to run lead gen. This also cannot be changed after the app is created, so take care on this page.
You will then be asked to give your app a name and provide a contact address and Business Manager before you can create your app.
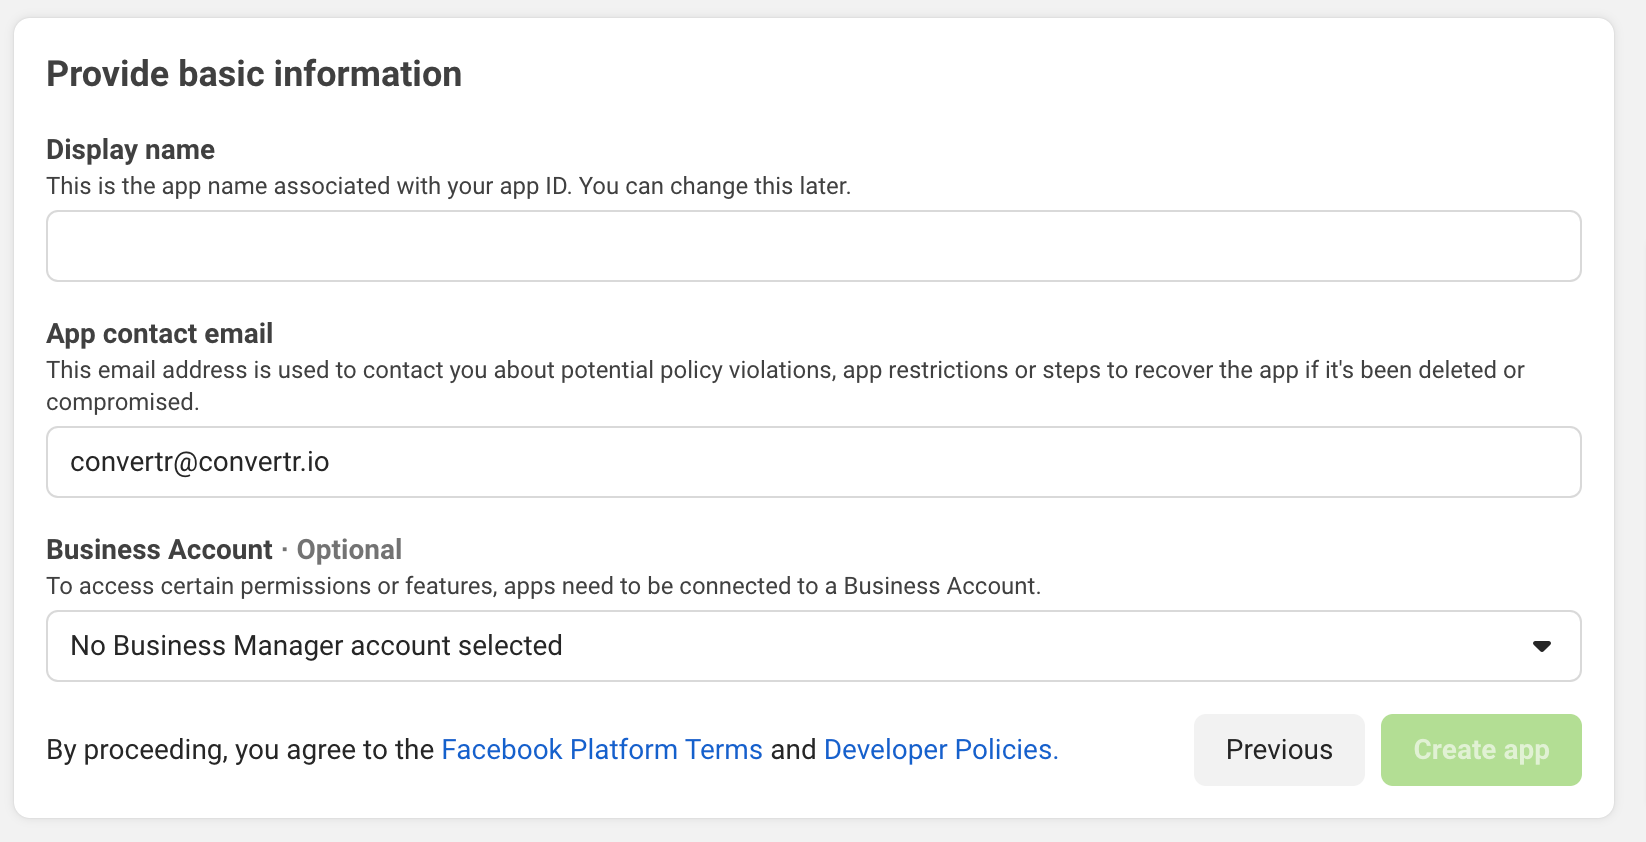
While Business Account is optional, you will need it for lead generation so you will be required to link your app to your Business Manager account.
3. You will now be directed to the Product Setup tab. First, you will need to click Set up next to Facebook Login.

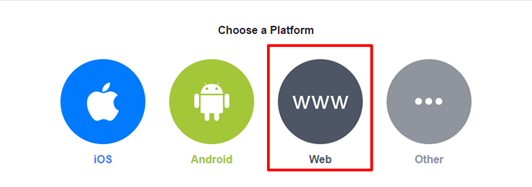
4. Choose Web when asked to select a platform.
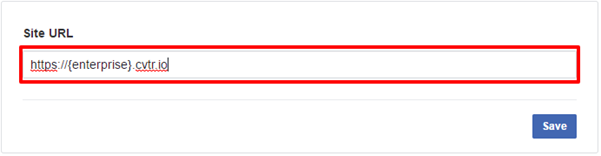
5. Next, enter your platform URL for the platform. The format should be
https://{enterprise}.cvtr.io
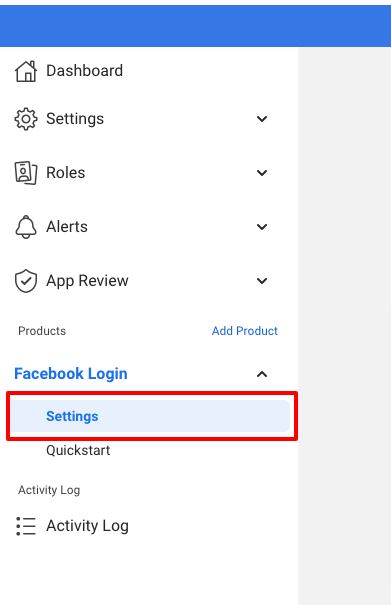
6. Now, on the left-hand side under Facebook Login, click Settings.
7. On the page, you will need to enter your enterprise URL in the Valid OAuth redirect URIs, Deauthorize callback URL and Allowed Domains for the JavaScript SDK fields.
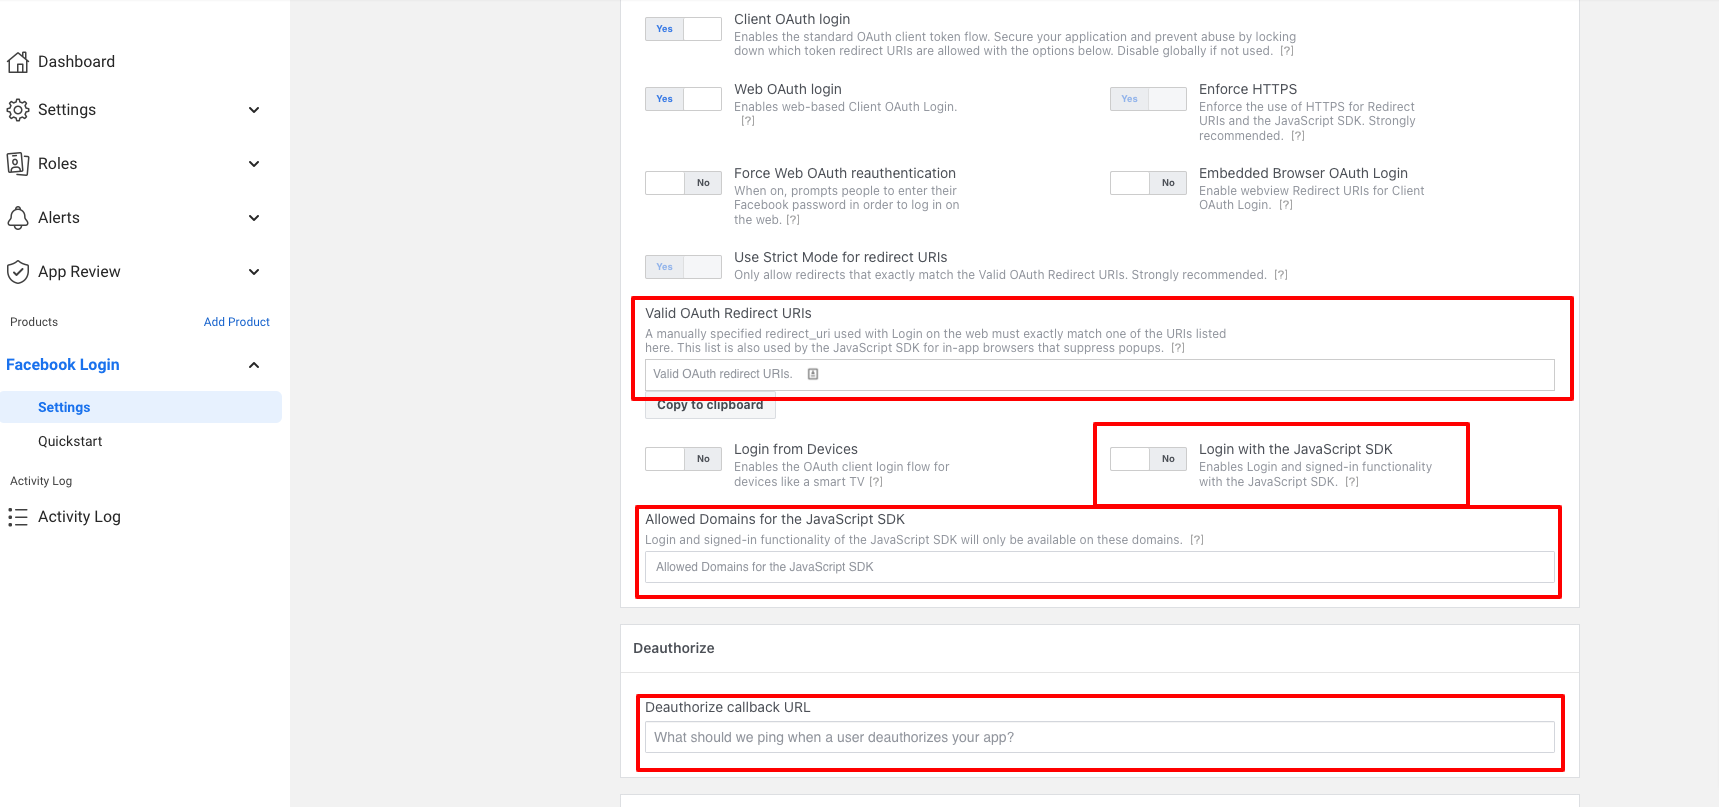
You will also need to toggle Login with the JavaScript SDK to Yes.
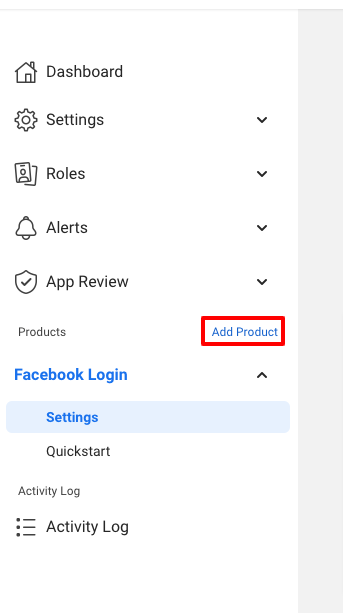
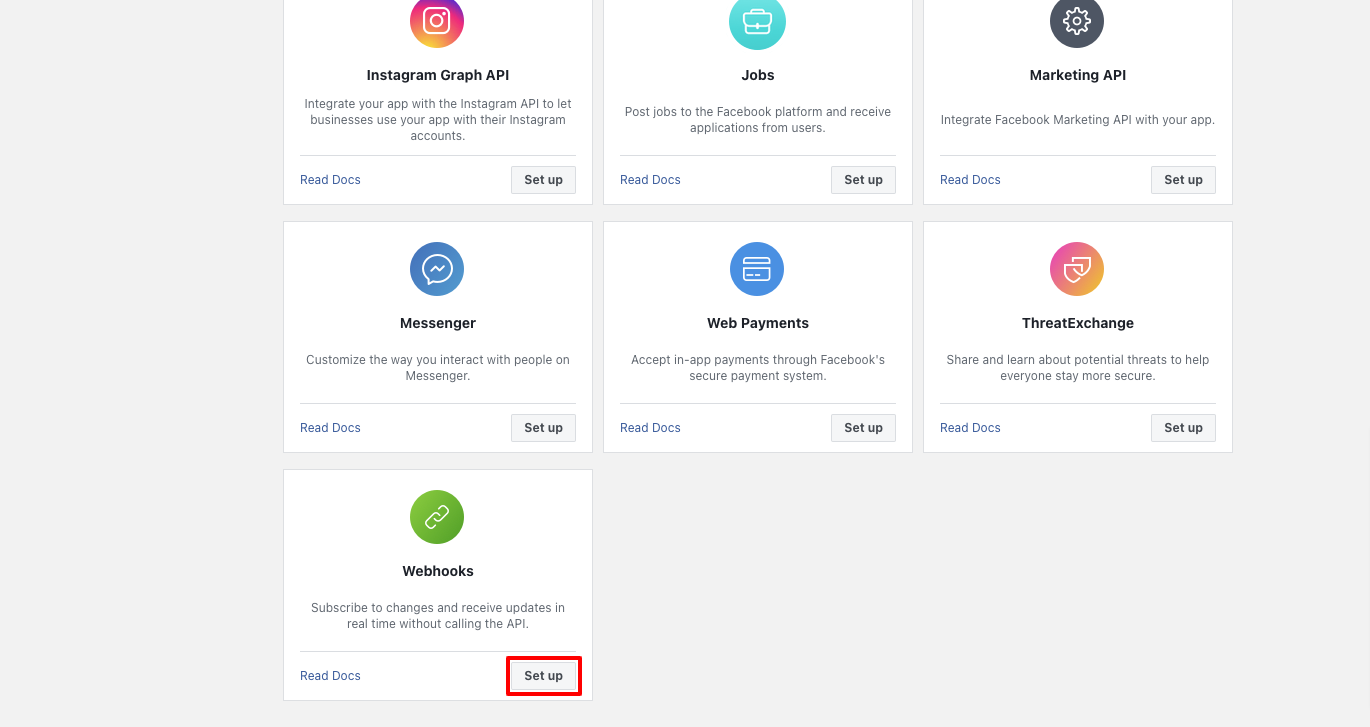
8. Now, on the left-hand side of the page, click Add Product.
9. Next to the Webhooks section, click Set up.
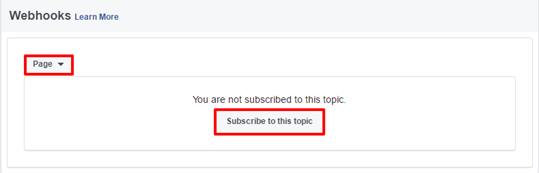
10. Within this page, choose Page from the drop down menu, then click Subscribe to this topic.
11. In the popup that appears, you will need to provide a Webhook URL and verification token.
Webhook URL:
https://{enterprise}.cvtr.io/api/webhook/facebook
Verify Token: This can not be provided here, but if you reach out to Convertr Support through the platform then this can be provided.

12. Once the URL has been verified, scroll down to the leadgen event and click Subscribe.

13. Now, go to Settings > Basic on the left hand side of the page and on the page, enter your enterprise URL in the App domains field.
You will also need to provide a Privacy Policy URL, Category, App Icon and Terms of Service URL. Finally, you will need to select your App purpose.
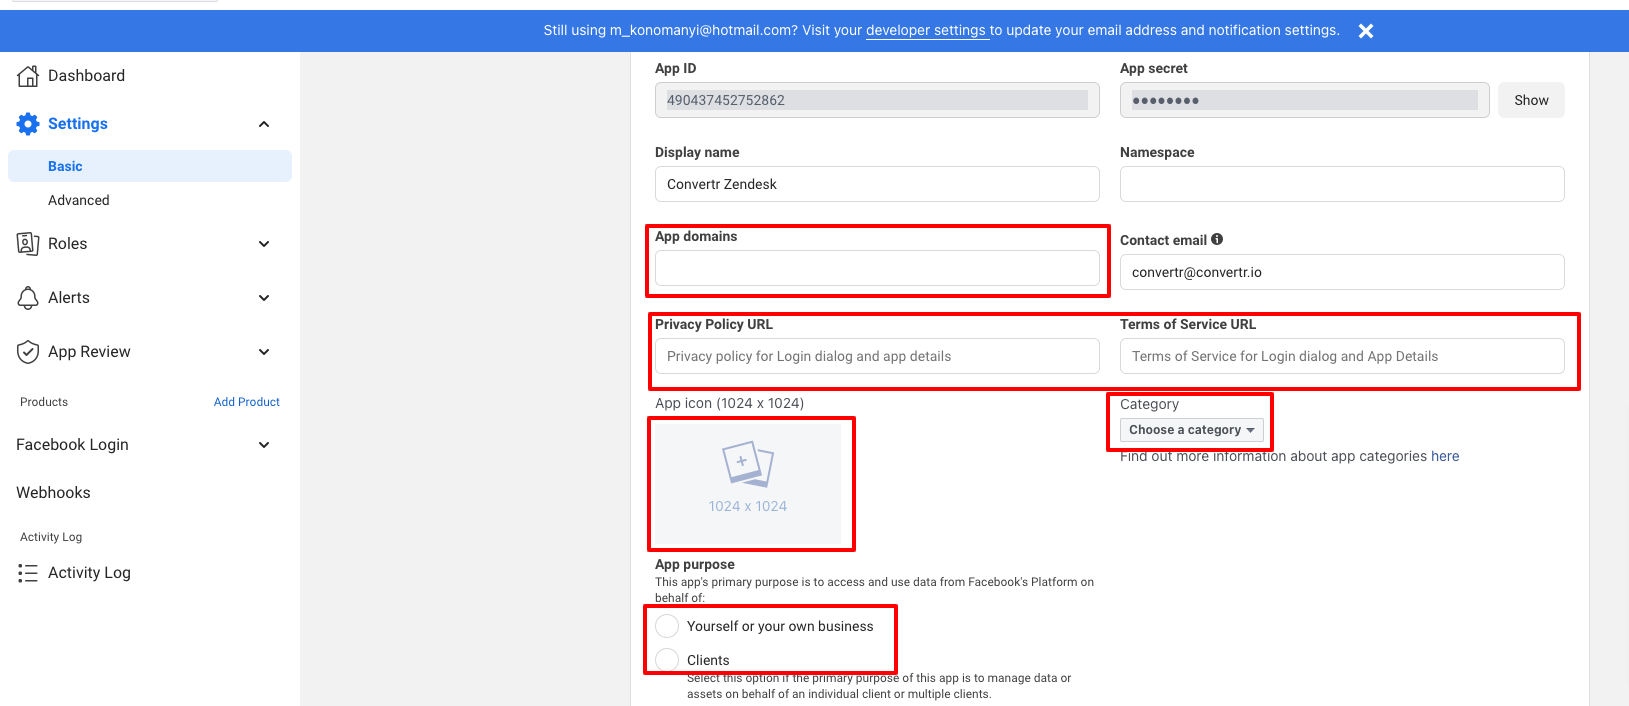
You may also want to take note of your App ID and Secret - you'll need this later!
14. Finally, at the bottom of this page you will need to select Add Platform.
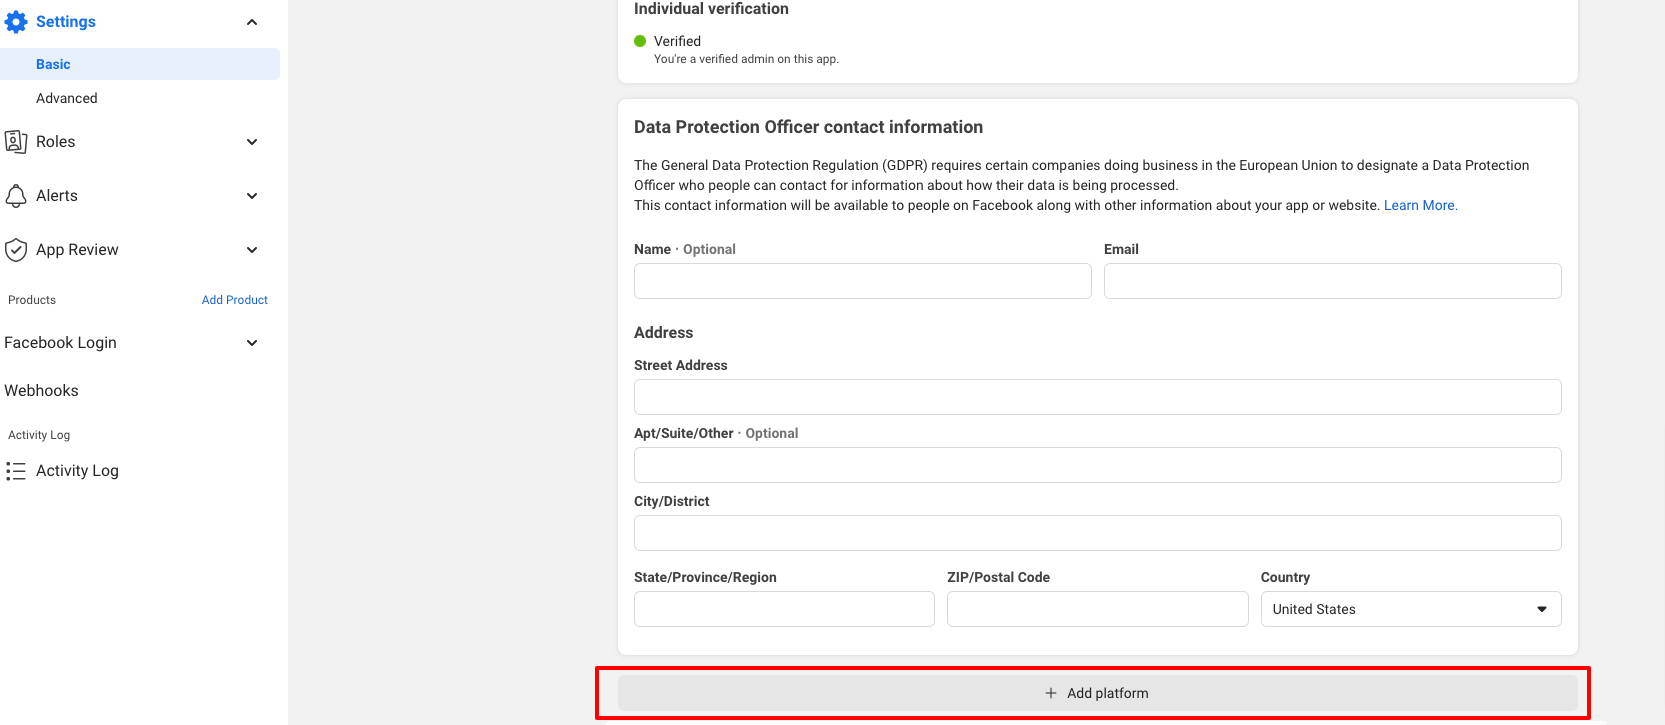
It will open another section, where you need to select Website, then input your platform URL:
https://{enterprise}.cvtr.io
Hit save to then update your app.
Approving your Lead Gen App
You will need your app to be approved by Facebook before you can use it. More on that here.
Connecting Your App to the Platform
Before doing this, make sure you have the following:
-
Facebook App ID
-
Facebook App Secret
- Admin or Advertiser access to the page that is hosting your Facebook form.
The App ID and Secret can both be found in your app on Facebook. Go to your app once you’ve logged in, and then these details can be found in Settings > Basic on the left-hand side.

1. Log in to the platform and go to Connected Apps > Facebook.
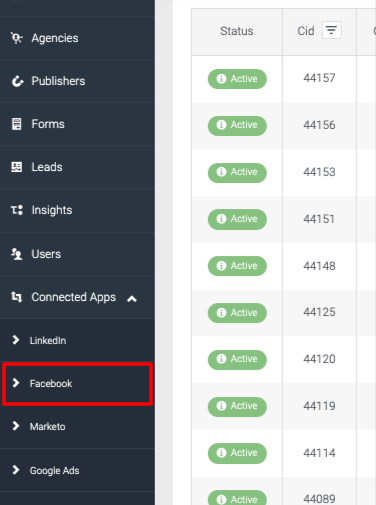
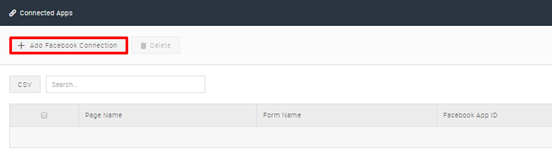
2. On this page, click Add Facebook Connection.
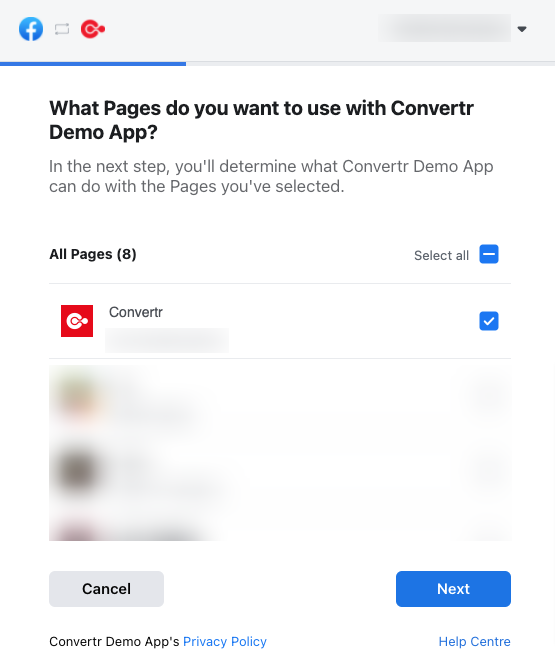
3. Now, enter your App ID and select Facebook Sign In. If valid, it will open a Facebook window which will ask for more information. You will first be asked which pages you want to use the app for:
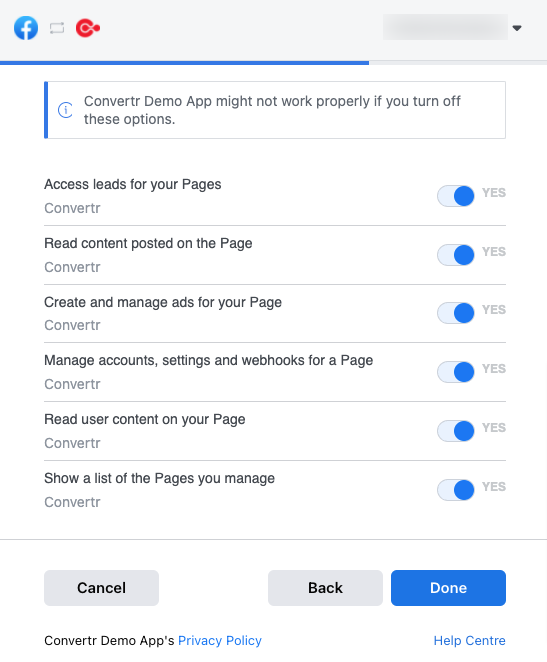
4. Next, you will be given a set of permissions. Ensure you have these all enabled then click Done.
5. Now the Facebook window should close, and the platform will have more options:
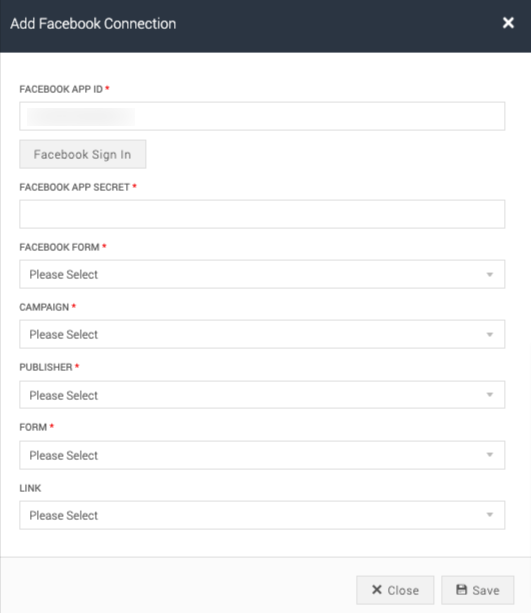
Input your App Secret. Next, the Facebook Form field is a dropdown that will show all forms your Facebook account has access to. If you don't see any here, please double check your Facebook permissions.
Finally, you can select the campaign, publisher and form that you want your Facebook leads to come into. Once you click Save, the setup will be complete and leads will be able to flow.